IglooDoors® Cold Room Doors
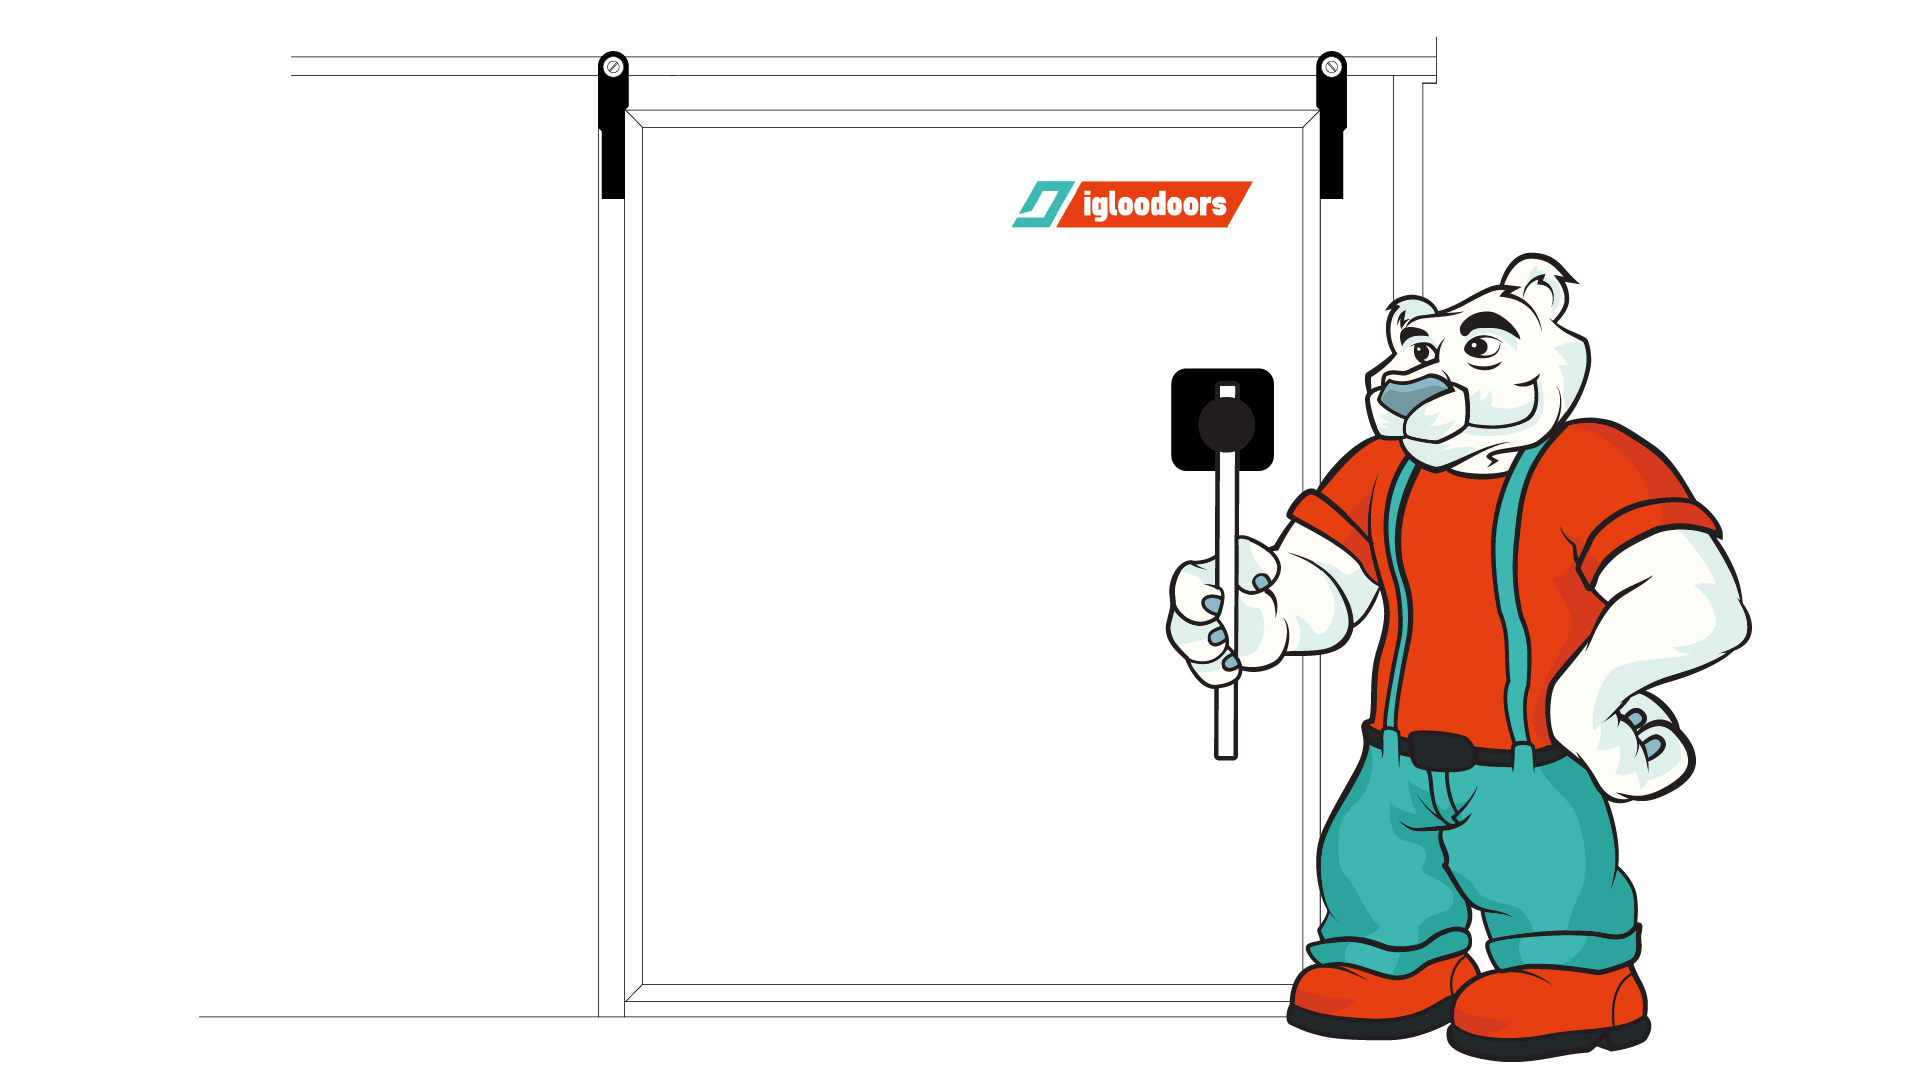
IglooDoors® is a high-end manufacturer of cold room systems based in the European Union. Our high-quality product family we call IglooDoors® is the result of constant development of our product line. We delivered more than two thousand cold rooms during the past decade. Using this experience and relying in the feedback of our customers, we developed a product that is easy to mount, withstands extreme mechanical stress and yet is pleasing to the eye.
While constantly growing, we are also enhancing the quality of our items too, that are now famous for their long-lasting durability under extreme usage. What makes, however, this product truly unique is the highly competitive price we are able to maintain. We offer outstanding quality for a much affordable price that you might be familiar with. We believe you should never compromise quality for cost-efficiency.
IglooDoors® products are protected by RCD (Registered Community Design) rights, unauthorized replication of the products or infringement of the design right may result in legal consequences.
Product Family
Properties
Services
Market segments
Features
HEAVY DUTY BULK DOOR LEAF
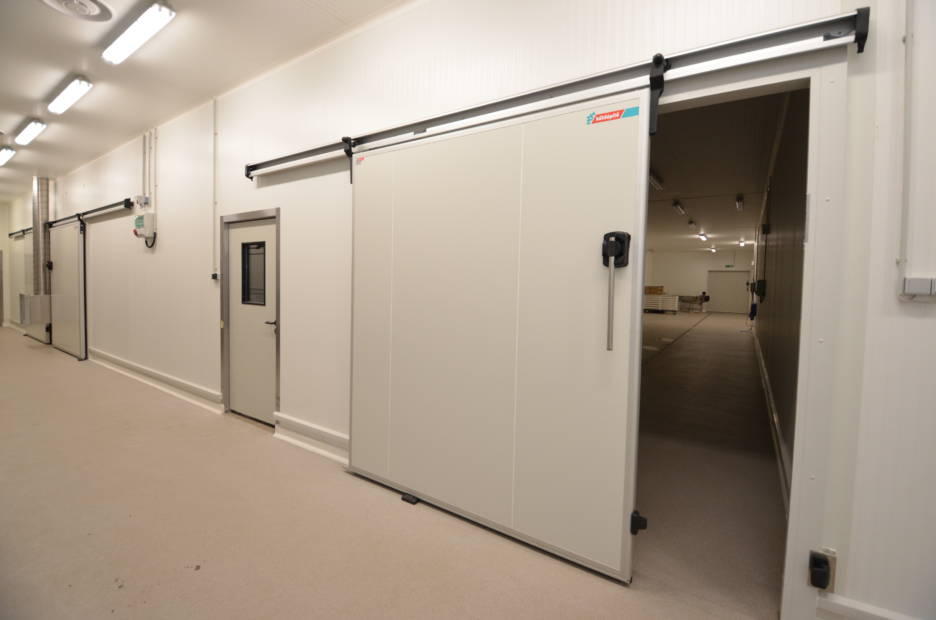
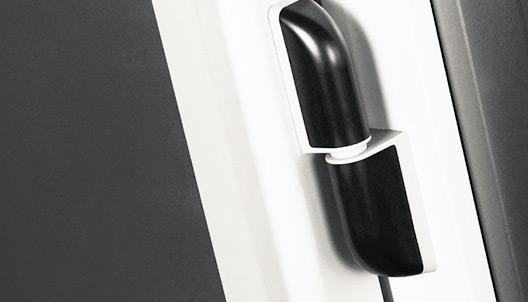
The main duty of a coldroom door is insulation while allowing easy and smooth access. Our cold storage doors perfectly satisfy these tasks in harmony. They are equipped with massive heavy duty bulk leafs, that enhance insulation. Furthermore, they are enforced with high quality aluminium edges for full protection. The doors withstand extreme physical stress, yet they are easy to open and close.
FOODSAFE DESIGN
IglooDoors® walk-in cooler doors meet the highest food safety and hygiene requirements of the food industry. All surfaces and edges of our doors are designed to be easy to clean. IglooDoors® FOODSAFE doors have gone through an extensive testing phase in commercial and industrial kitchens, therefore, we strongly recommend this product line for applications where hygiene is of key importance.
HEAVY DUTY HINGE
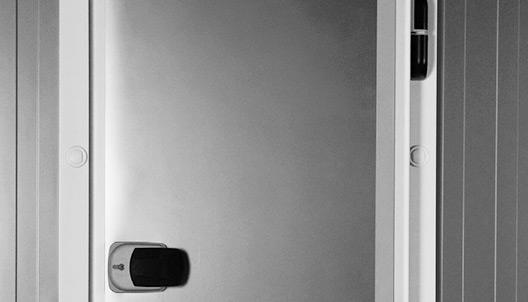
IglooDoors® are secured with extremely reliable hinges with composite body and inner mechanics completely steel, that are therefore corrosion resistant. In order to achieve tight closure, we installed an uprising technology. With this, the door leaf is raised when being opened, hence friction with the floor is avoided. For the perfect fit, hinges can be adjusted in three directions.
EASY TO MOUNT
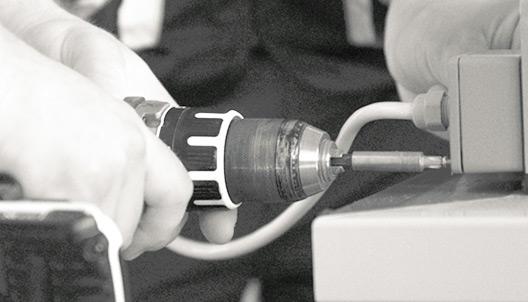
Thanks to our company’s significant experience in building coldrooms, we are aware of the nuances of this product. We know how an effective coldroom looks like, so we developed our doors to be easy to install. For the installation of IglooDoors® you will not be in the need of a professional. It only requires minor expertise and can be done in less than an hour.
CUSTOM SIZES
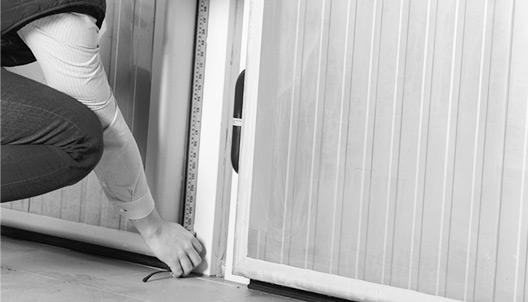
Igloodoors® is offering more than ten of standard sizes of each models. Should you however be in the need of a completely unique size, we are happy to comply. Furthermore, we offer the same delivery time of custom sized door as with standard sizes. Do not hesitate to approach us with your unique requests and we are happy to satisfy your needs.
PREMIUM QUALITY EPDM SEALINGS
IglooDoors® is proud to use the best quality rubber sealings in its products. We are not satisfied with average solutions, so we set the goal to triple the lifetime of average rubber seals. As a result of this continuous consultation and efforts with our European supplier we were able to develop the best EPDM quality for the rubber sealings used in IglooDoors®.
DESIGNED FOR EVERYDAY USE
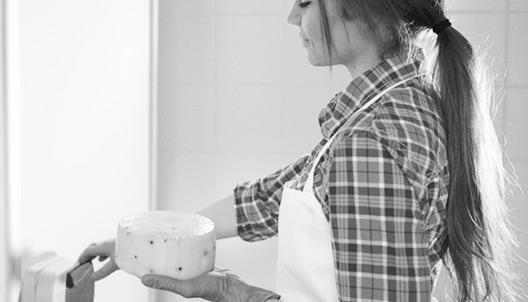
Durability and utility is among our main goals when designing our products. According to an independent test facility, IglooDoors® are durable to an over 50 000 cycles. We know the level of stress coldroom doors can be exposed to on a daily basis. In order to withstand all this, our IglooDoors® provide mechanical resistance to vertical loads of 800 Newtons. For extended durability we install aluminium door edges.
FITS TO ANY WALL CONSTRUCTION
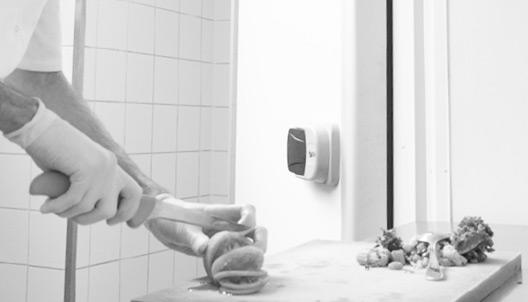
We know coldrooms are not the same, so we designed our doors to fit any wall construction. Be it sandwich panels, built walls, plasterboards or corner joints, the thickness and material of your coldroom will not be an issue with IglooDoors®. Our doors can be installed into walls ranging from 40 milimeters to even more than a meter wall thickness.
COMPLETE SAFETY
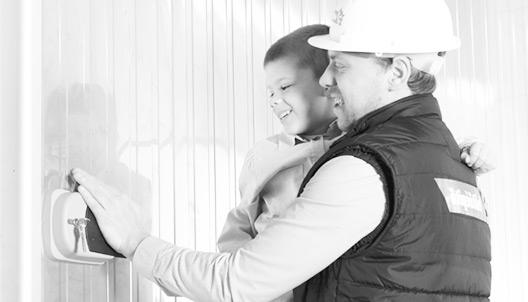
The safety of your employees is an important measure for us when designing our products. IglooDoors® can always be opened from the inside. Therefore, it is impossible to lock someone in, even if the door is locked from the outside. We also offer security locks and include keys with our products.
PREMIUM ISOLATION
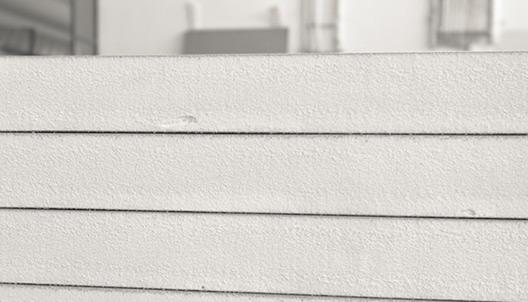
IglooDoors® apply solely the highest-quality materials so you can achieve the best results with our products. Isolation is a key issue with coldroom doors. With 42 kg/m3 PIR insulation core inside, we have chosen the perfect materials that allows us to maintain temperature.
STANDARD COATINGS
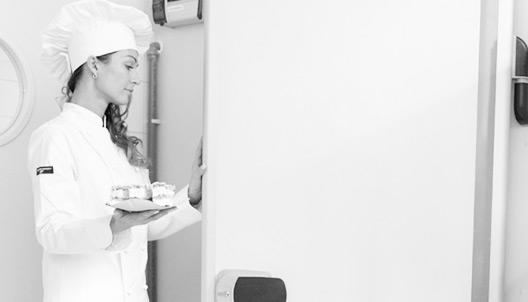
For extended protection we ship our doors standard with coating. Galvanized steel panels are RAL9002 powder coated that adds a 25-micron extra thickness to door panels. Coating makes the door resistant to the damages during everyday usage. It also enables easy and quick cleaning. Before shipping protection foil is applied to the door so damages can be avoided during transportation.
SELF-REGULATED HEATING
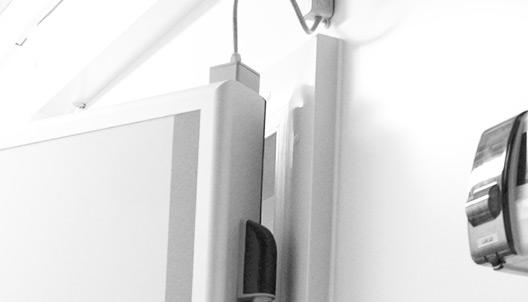
We equip our doors with a self-regulating door leaf heating. Due to the significant temperature-difference between the inside and the outside of a coldroom, doors need to adjust, to avoid freezeouts and condensation. This technology helps you save on electricity bills about a hundred euros per door compared to conventional heating cables.
Options to choose
Creative coatings
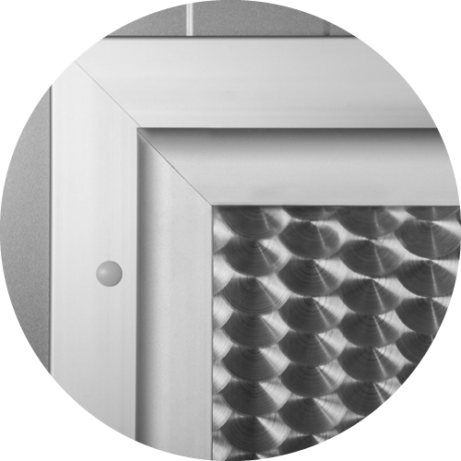
IglooDoors® come with a standard coating, you can however choose from a wide range of options. For a more premium look and extended durability opt for Stainless Steel, which is available in three versions: scale pattern, brushed steel or matte. For an elegant look you may choose from the Natural Wood covers from Formica®.
Meat railing
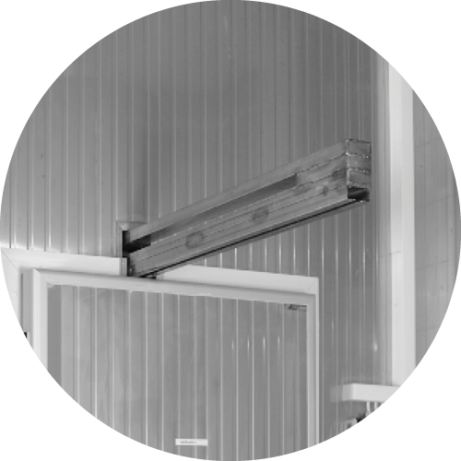
In order to help the flow of heavy products in and out of the coldroom, railing systems can be installed with our doors. Igloodoors therefore will not be an obstacle but rather become an integrated element of the production chain. This feature can be extremely useful when handling meat, that is transported and stored in a hanging position.
Threshold
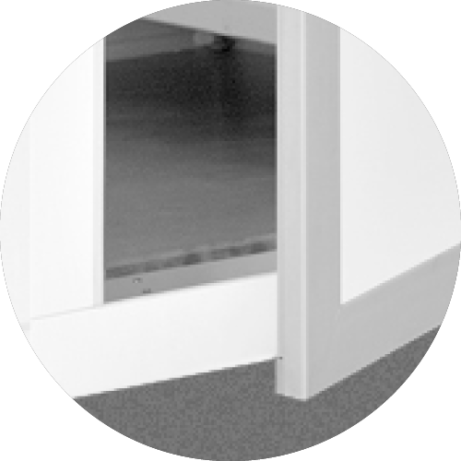
We are proud to offer personalized solutions to all of our customers. Every type of IglooDoors® can be requested with or without a threshold, depending on the nature of the environment of installation and the means of usage.
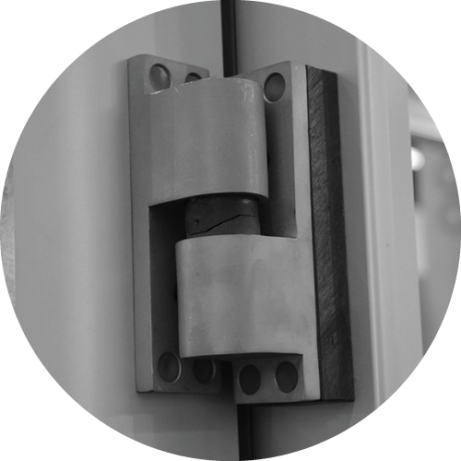
Stainless steel hardware
For premium looks and extra durability, our doors can be constructed 100% of stainless steel. Upon request every single plastic or composite material can be replaced with stainless steel including locks and hinges.
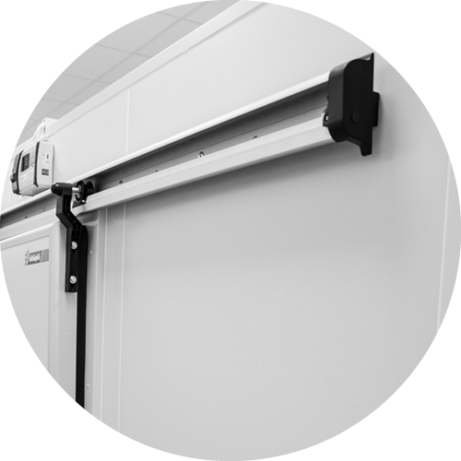
Motor driven opening
Motor driven opening can be installed with our sliding doors for the perfect comfort of entering your coldroom. This feature also heavily increases the speed of production.
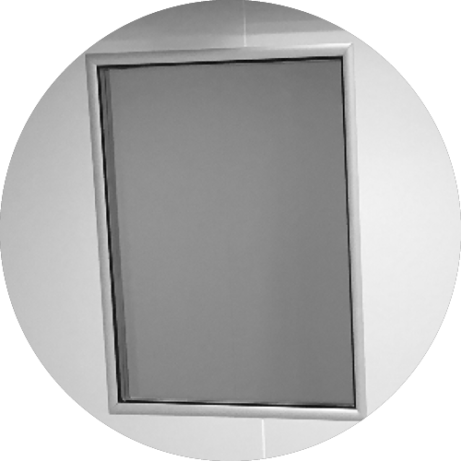
Built in window
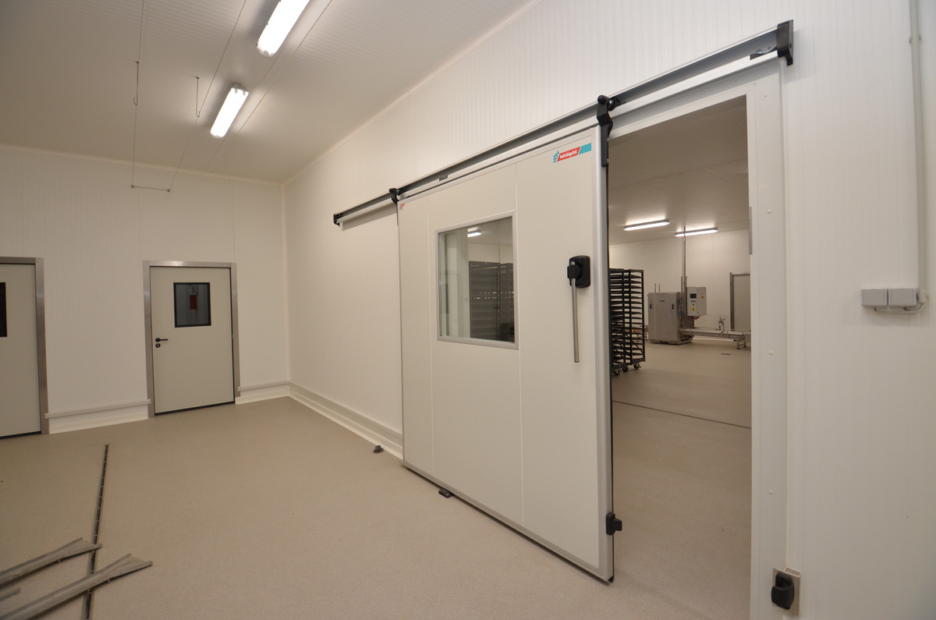
In some work environment it is particularly important being able to look into the coldroom without constantly opening its doors. A window can be built into the door for this purpose upon request.
Blog
Contact us!
Should you have any questions regarding our products or services, or need advice from our experts, please contact us.
Ask for a free quotation!
From Monday to Friday between 8am to 4pm we await your call on the following number:
+36 37 / 737-500
You can reach us throughout the day via e-mail: info@igloodoors.com
Or ask for a personal offer online!
